WARNING: THIS IS AN ADVANCED USER LEVEL TUTORIAL. UPDATE YOUR KEYS AND PERMISSIONS AT YOUR OWN RISK. Now that your signers are ready, it’s time to set up the multisig.
- Go to https://explorer.xprnetwork.org
- Sign in with your main account
safemaster - In the top menu, click Wallet, then in the left sidebar, click Keys and Permissions
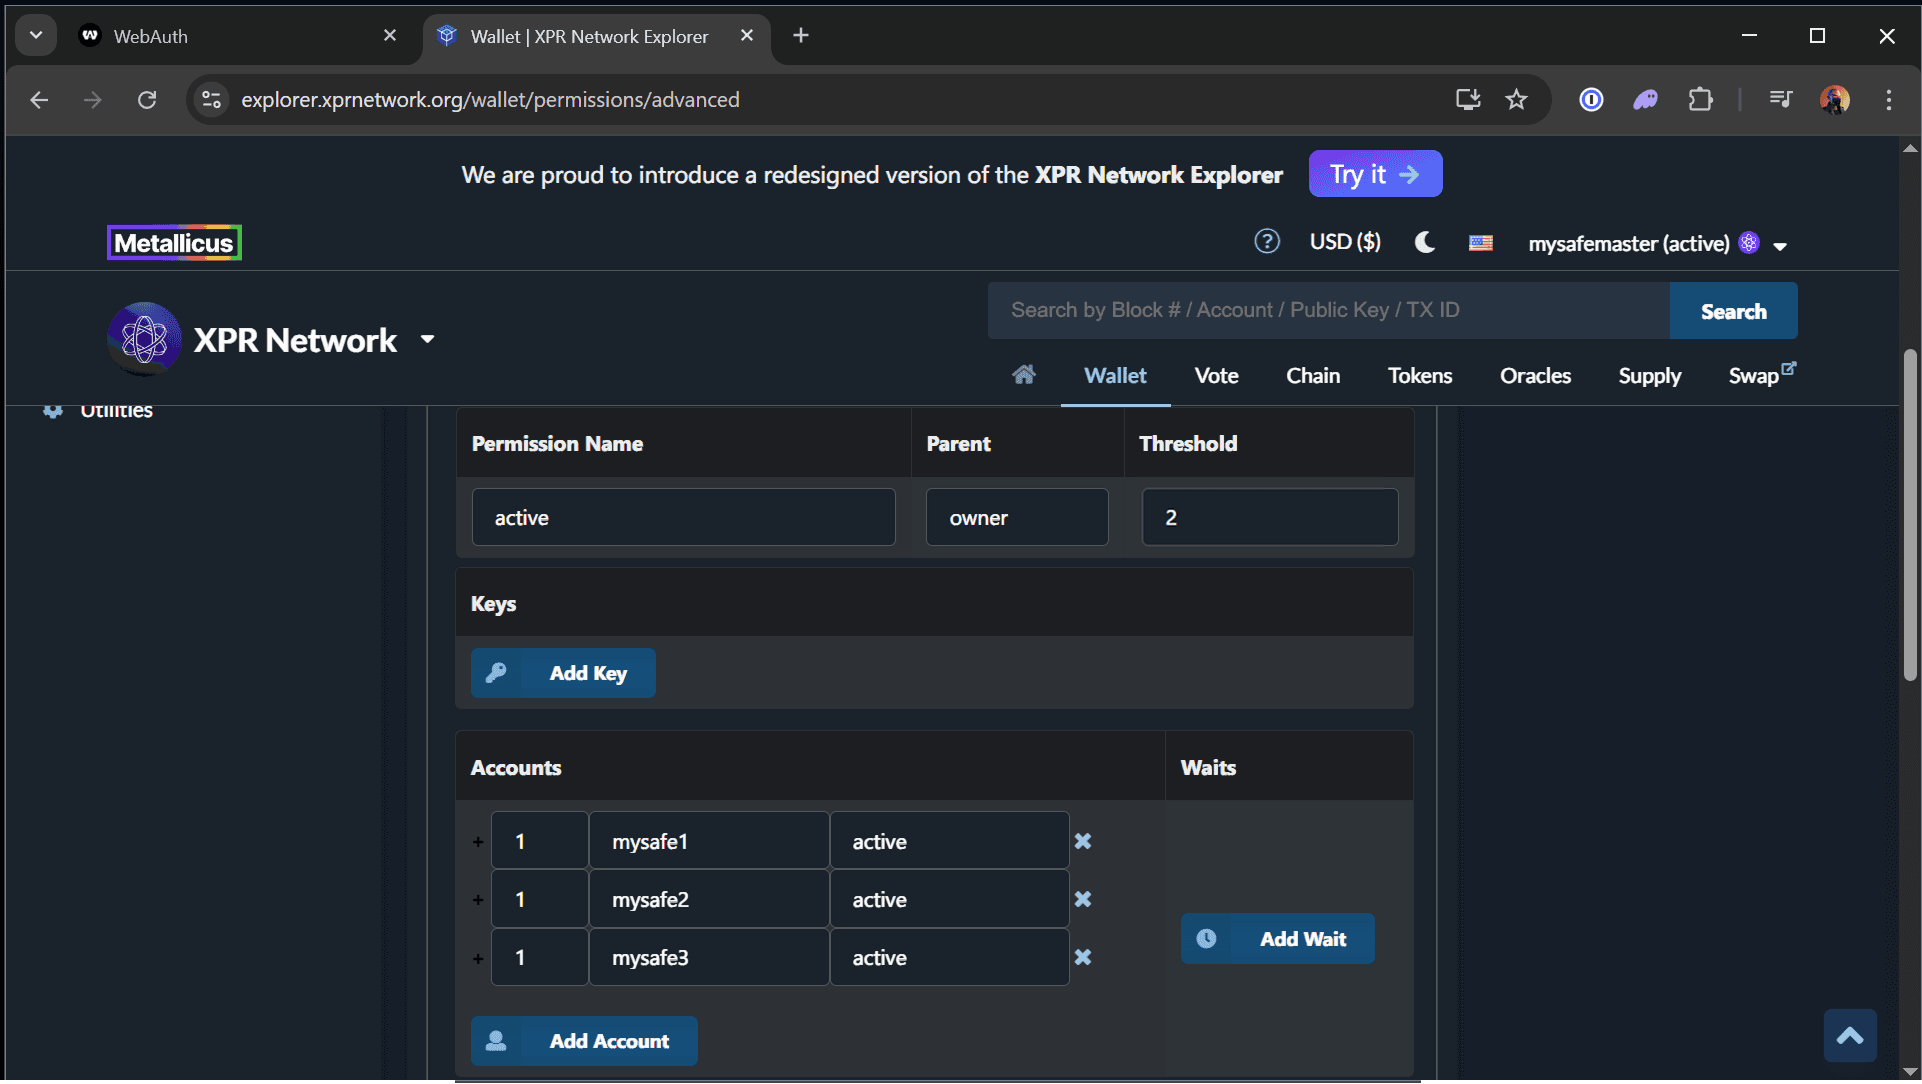
- Switch to the Advanced tab
- Find the
activepermission and click open the drop-down and edit
- Set the Threshold to 2 (this means you need 2 of 3 signers to approve a transaction)
- Remove the existing Key by clicking the X (on the right)
-
Click Add Account three times and add your signer accounts:
- 1
mysafe1 active - 1
mysafe2 active - 1
mysafe3 active
(Follow the screenshot guide below)
- 1
- Click Save and Approve
You’ve now configured your account to require any two of the three signers to authorize every action from safemaster
If you have any questions about this guide or just want to say “Hi”, follow our Metallicus Client Services Help Center on X (@MetalHelpsMe) to stay up to date and learn how to get the most out of your XPR Network experience!